Pages

Tuesday, November 27, 2012

Memory game

DIY Memory game.

I was trying to search for the best Christmas gifts for my niece and nephews. I also wanted to make sure it was a little on the cheaper side. So I came up with memory game. I was so excited to do this because I can personalize it to what they like and enjoy.

I bought just two 12x12 sheets of paper and a few sticker packs. I realized that they don't have to be the same exact sticker, at least the same character. Such as both being Buzz Light Year not both Buzz Light Year flying.


 I also used a great new "toy" I bought... A laminate machine!!! I am so excited about this!! I also used a 12 inch paper cutter and a 6 inch paper cutter. Super easy to do.


 I cut the sheet of 12x12 paper into 2 inch square then added stickers to the back of them. This is a photo of a whole sheet of cards.


 If you don't have a laminate machine your local Kinko's store would laminate for you.


 And there you have it. Just trim the cards down to size, gift wrap and there's your easy Christmas gift!! I can't wait to play with this with my daughter. I hope that this is inspiring for you to hand make your Christmas gifts this year.

Sunday, November 18, 2012

Ribbon Wreath for Christmas


So I saw this in the Women’s Day magazine (December 2011) issue and thought to myself “I can totally do that”. It couldn’t be too hard right, just some ribbon and a ring. I did some things a little different then what the magazine instructions were, but I was very pleased with the turn out.

Here’s what I did. I used 3-4 spools of ribbon – roughly 4 yards each. Then I got a 14” ring in the bead section of Hobby Lobby. I cut the ribbon down to 10” pieces and simply double knotted them around the ring. Make sure the knots are close together and tight around the ring. The magazine said to hot glue a piece of the ribbon to the back of the wreath to hang it, but I just cut a long piece of ribbon and tied it around the ring like all of my other knots. I think it looks good and hangs just fine.

Here is the finished product:


Saturday, October 27, 2012

Daily Workout

I saw plenty of different workout tips and tricks on Pinterest, but I wanted something that I would do. I'm not a motivated person in just working out. So I found an idea that I made my own. I looked for many different workouts that I would do. This is what I came up with...


What you need to make this super simple daily work out plan is...


2 Plastic cups
1 sharpie marker
35 pop sickle sticks (I do 5 sticks a day 7 day's a week)

I wrote TO DO on one cup, and DONE!! on the other cup so when I finish a stick I can move it to DONE!! and feel very well about it just being done!

So I've been doing this for a few weeks now and I seem to be working out more now then I have every in my life. There are some day's that I might not do all 5, but I don't let that bother me. I do what I can for the day. No stress!

I hope that you can also find motivation to do a work out everyday.

Wednesday, October 17, 2012

DIY Quoted Canvas

My husband and I are expecting our first child in March, so the brain storming has begun as to how to decorate the baby's room. As I was thinking, a Bible verse that we pray over the baby everyday came to mind. This was it. I'll put the Bible verse on canvas, paint it and hang above the crib. 

Here's what I used:
Canvas - I bought a 20x24 size
Paint - I used Mysteria
A Cricut machine
Vinyl

I used the Opposites Attract cartridge. I tested a few letter sizes until I got the one I wanted. There were two words within the verse that I wanted to have stand out from the other words, so I cut them out in a different font and made them a little bigger.


Once I had all of the letters cut, I placed them on the canvas. Then I painted the whole canvas, including going over the vinyl letters. I used two coats of paint to make sure it was all covered and no white was showing.


Once it was all dry, I slowly peeled off the vinyl letters. The paint did bleed through a little bit, but I think the effect is pretty cool, so I'm going to keep it as is. If you don't like it with the paint coming through, I would think that getting a small paint brush with some white paint you could paint in the letters and it would look good.


Monday, September 24, 2012

Easy Burlap place mats


Material:
Sharpie marker
Scissors
burlap

I had a wedding shower to go to in a rush. I had no idea how she decorated her home, or what was on their wedding registry. I took a huge risk and made these easy awesome place mats.

I simply used another place mat as a guide to the size. I cut four mats out.


I then got a large sharpie marker and wrote their initials in the bottom right corner.


When she opened her gift, they both fell in love with them. They loved that it was personalized and that it was home made. Something they use everyday.

Thursday, September 6, 2012

A Tutu-torial


I saw this awesome table idea on Pinterest (I know- shocking!).  The only problem is that it didn’t have a tutorial to go with it. So, this is what I came up with-

What you’ll need:

1.     A round side table (found at Wal-Mart for $18)
2.     White fabric for the table top (1/4-1/2 of a yard)
3.     16yards of pink tulle (I bought three different shades and divided it into 4 different pieces)
4.     Medium width white ribbon
5.     Scissors
6.     Staple gun
7.     Hot glue gun

How to put this adorable table together:

1.     Put the legs on the table and flip it upside down with the white fabric underneath
2.     Make sure the fabric is pulled tight and staple it to the bottom of the table top (about 2inches in)

3.     Cut off the excess white fabric
4.     While the table is still upside down begin stapling the tulle to the back of the table top by gathering a few inches and stapling it, moving over an inch, gather a few inches of tulle and staple. Continue around the whole table (in this picture I had not cut off the excess white fabric yet)

5.     Once you’re around the table do it again with the remaining three pieces of tulle
6.     Once all the fabric is stapled securely, flip the table over and trim off the excess fabric that is hanging on the floor. This will allow the tulle to poof out looking more like a tutu.
7.     Take the hot glue gun and begin trimming the rim of the tabletop with the white ribbon

8.     Once you’re around the whole table cut the ribbon. Tie a bow and attach it to the rim where the ribbon begins and ends.


Tada! You’ve got an adorable tutu table!


Tuesday, August 28, 2012

Easy Wall Decor


Easy Wall Décor:

I was cleaning out my kitchen cabinets and found I only had one of these brown raffia place mats. I’ve seen them hung on the wall before and I liked it but it’s really not my style. So, I put it aside and finished what I was doing. Before I threw it away I walked into my daughter’s room to see if there was something I could do with it in there. I’ve been collecting the letter M of all different shapes, sizes, colors for her room. This fun blue M stuck out. I picked it up and used a twist tie (leftover from a bread bag) and attached the M to the place mat. I LOVE it!!! I already had nails in the walls so I just placed it there. It has to be one of my FAVORITE ‘recycled’, cheep, and easy wall decorations in my home!!


Sunday, August 5, 2012

DIY Full Coverage Nursing Cover

I don't know if you're anything like me but I really hate nursing in public. Not because there is anything shameful or uncomfortable about it, but because I don't want my love handles and postpartum baby belly hanging out for all the world to see. I saw a tutorial on Pinterest for a full coverage nursing cover that had you sew "only one line". But I've revamped it so you don't have to sew anything at all!

Supplies:
1yard knit fabric (I bought a jersey knit fabric that way it wouldn't fray)
Fabric scissors
Measuring tape

Directions:
1. Fold the fabric long ways in half
2. Trim edges of the fabric that need to be trimmed or straightened
3. Measure the folded side of the fabric and find the middle


4. From the middle out measure about 12-13inches. (for the neck hole in the center)
5. Once you've cut along the fold put the fabric on

6. Measure about how much you'd like to cut off the bottom (I cut 9inches off of mine)
7. Refold the fabric along the neck hole and cut the desired amount off the bottom
8. The end measurements of my nursing cover were 21 inches x 42 inches

I embellished the corners of the neck hole with buttons just to make it a little pretty.

Hope you enjoy your new nursing cover as much as I do!

Friday, July 27, 2012

Apple Canvas Bag


Apple Canvas bags

What you need:
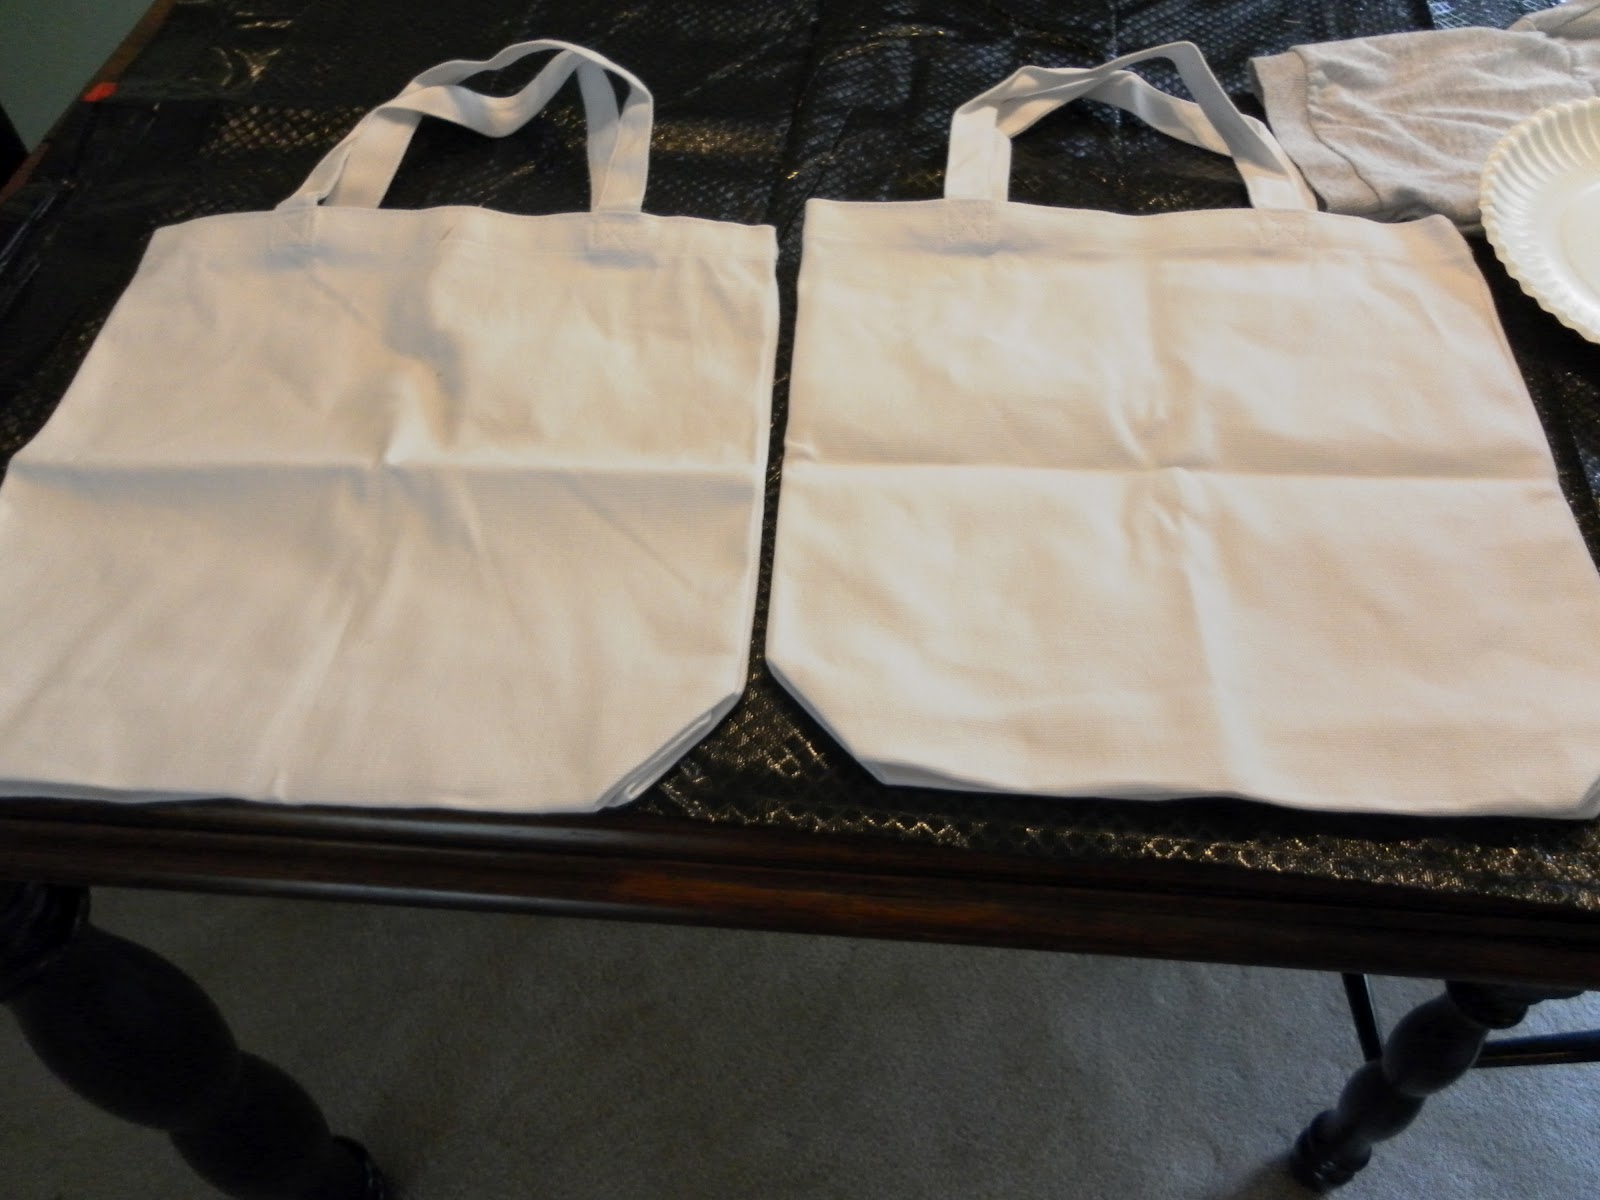
Canvas bag
Paint
Apple

I was making gift bags for a birthday party and thought it would such a cute idea to make the bags have double duty. 


So I had an apple that was just over ripe.


 I cut it in half. I mixed green paint with white to lighten it, and green paint with a mixture of purple, red, orange to darken it. You can’t tell in the photos but there are two different color greens on the canvas. I just started on the bottom of the bag, and did every other in light green then dark green. 

 
I did notice later that the paint had gone though the bag to the inside. It didn’t go though the back, but just inside. So maybe I’d use a plastic bag inside just to make sure next time. Happy crafting!

Sunday, July 15, 2012

Easy Home Decor

This is a very easy way to cover some bear wall.


You just need:
4 12x12 pieces of scrapbook paper
4 empty card bottom boxes
Scissors
Tape
Pencil
12” paper cutter

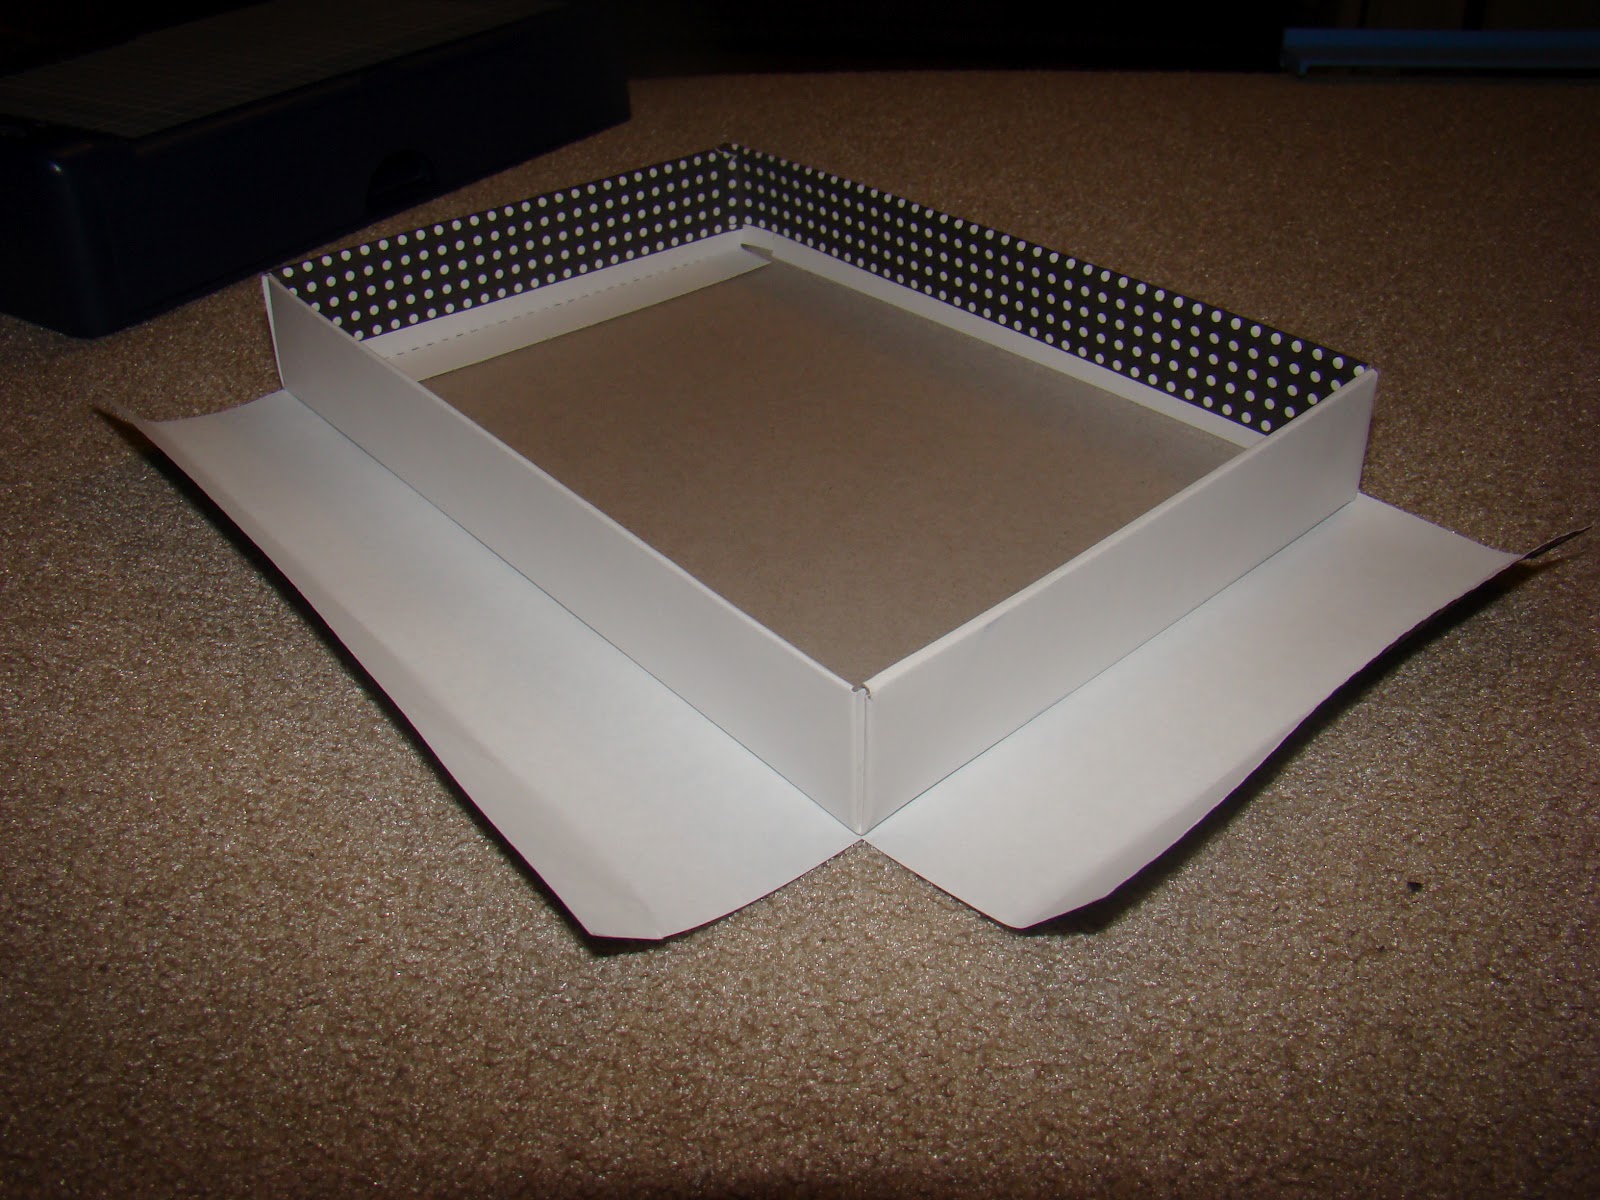
The box is 7.5” x 5.25”. So I cut the paper down to 11.5” x 9.25” to make sure I had more than enough to fold into the box. On each corner cut out a 2” x 2” square so it looks like this:


Put the box in the middle and fold over all of the edges on the paper around the box. This will help after taping to get everything on the box smoothly.


Next apply the tape to the scrapbook paper. Begin putting the scrapbook paper around the box. Repeat until all of your boxes are covered. Here’s my end product:


Thursday, July 5, 2012

Mustaches for Daddy


store to find something for him. Before we walked into the store I asked the boys, “What would you like to get daddy for his birthday?” Agent J responded quickly and quite seriously, “Mustaches. Because daddy can’t grow one for himself.”

We searched high and low at two different stores for fake mustaches only to find nothing. Then it came to me, “I’m crafty! Let’s make ‘em” So I picked up some black pipe cleaners and elastic. When bubba was down for a nap one afternoon the twins and I sat at the kitchen table laughing hysterically, enjoying being creative together and imagining daddy wearing these ridiculous mustaches!

It was so much fun! If you have boys, then you probably understand the fascination with facial hair. My sons have always been a little over the top with it (at age two they wanted me to draw mustaches on them to go to the store and to see their grandfathers band… we allowed it too! You’re only a kid once!) Here’s what we did- have a great time and enjoy some laughs with your little ones!

Need:
·      Scissors
·      Pipe cleaners
·      Elastic string
·      Imagination

Instructions:
·      Manipulate the pipe cleaner(s) into the shape of the mustache you’d like
·      Tie the elastic string around the middle of the mustache in a knot
·      Measure around the wearers head with the elastic and tie another knot in the back
·      Enjoy the ridiculousness of these home made mustaches “because daddy can’t grow one for himself”


Tuesday, June 26, 2012

Bathroom update


I wanted to "re-do" the guest bath in my home. I wanted to make it more little girlish for my little girl. I took photos of the before and after. I'm still working on over the toilet things, but it will be done soon!! So excited for this room in the house to be 90% done.


I bought a rug with flowers on it and was inspired to paint something similar on a canvas for the wall. I had a coupon for Michael’s so I went to look at what they had. I got a two pack of large canvas for $5.49!! My coupon was a 50% off!! So I came home and started painting. I made the flowers similar to the rug. 


The bird canvas I came up with from another blogger. I saw what she did on Pinterest and fell in love with it, and knew I could do something similar. (http://ashleyannphotography.com/blog/2010/01/13/diy-paper-bird-painting/). My version is a little different as I added my own flair. I used a pencil to draw out what I wanted. I picked out the paper I wanted from my scrap book supplies. Put Mod Podge on the back of the leaf's and the bird and then on top also making sure you get all the bubbles out. If your paper smear's you can touch up the canvas with a little white paint. I was lucky and didn't have to do that. I also don't have a brown paint, so I had to mix my own.  Paint on your twigs and then seal the canvas with your mod podge. 


Hang and enjoy! I am really enjoying the new look in the bathroom!

Making a simple skirt


Materials:
3/4 elastic about 21inches long
fabric (about 1/2 yard) for the skirt and the hem. Opposite or similar fabrics are cute.

Skirt sizes...
For an 8yr old she had it total 17inches long, and 21 inches in the waist.


ALWAYS make sure you wash and dry your fabric before you cut or sew it together!!! This will help the material preshrink and your sewing more accurate.


Take your fabric and fold right sides (meaning the sides you want on the outside. So your skirt will be inside out) together (you do this because you need a piece for the front and one for the back) measure 16” long and 21” wide. Cut out your skirt. 


On the opposite fabric (fabric for the hem) place face together and measure 22” long and just 2.5” wide. Cut out for your hem. You again will need a two pieces this length to have a hem for the back and the front.


On the hem iron a small amount about ¼” over and run though your machine with just a basic stitch. Do this for both pieces. 


Pin the skirt together inside out along the sides. Next pin the hem to the bottom of the skirt, about ¼” to ½” into the skirt. The hems will be a little longer on each side and this will allow you to have extra on either side so there isn't a sewing mistake. You can cut the extra off later. Also, pining the hem on now will allow you to make sure it is even around the skirt and one side isn't longer then the other. 


When its all pinned together using your zigzag stitch sew the sides together all the way though the hem. Sew close to the edge about ¼” from the edge of the fabric.


Using the basic stitch again sew the hem onto the bottom of the skirt. 


Next you need to iron over about 1” from the top. This is for the elastic. Having ¾” elastic and 1” fold over you have about ¼” to sew and have a little extra room. Use your basic stitch again and start at one of the edges (seams). Go all the way around leaving about 1-1 ½” open at the end. Use a safety pin at the end of your elastic pushing it though the top of the skirt. When you get to the end and both sides are out sew them both together. I use a zigzag stitch. Now close your hole opening and sew an extra line right on the seam of one of the hips to keep the elastic in place and it won't roll over on you.


You have now made a simple skirt from just a little fabric. Happy sewing!!